Monday, October 06, 2014

Insert Owl Pun Here


There’s an entire parliament of owl puns overused by the human population, so I’ve decided to respectfully withhold a pun-ny title for today. After completing the Fall Changes unit in Theme Studies (our time period for Science/Social Studies), we go on to learn all about owls. These two units not only go perfectly with the time of year, but also make it easy to provide a smooth transition from one unit to the next.

I like to keep my “theme” units in duo-tangs with a quick one-page overview of the unit for easy reference. All of the worksheets, printables, and activities are in sheet protectors following the order of the lessons from the unit plan. Here’s a copy of my owl overview plan:


As you can see in the plan, I focus on 6 owl species: Barn Owls, Burrowing Owls, Great Grey Owls, Great Horned Owls, Screech Owls, and Snowy Owls. (Side note: Snowy Owls have spent the past two winters in a farmer’s field in my city! It’s been incredible to see with my own eyes these northern birds of prey outside of captivity.) We focus on labelling the parts of the owl, and finding out what the specific owl eats, its habitat, and an interesting fact. The kiddos love to participate in the research aspect of our lesson for each owl. We use a projector with Internet access to look up the sound of 
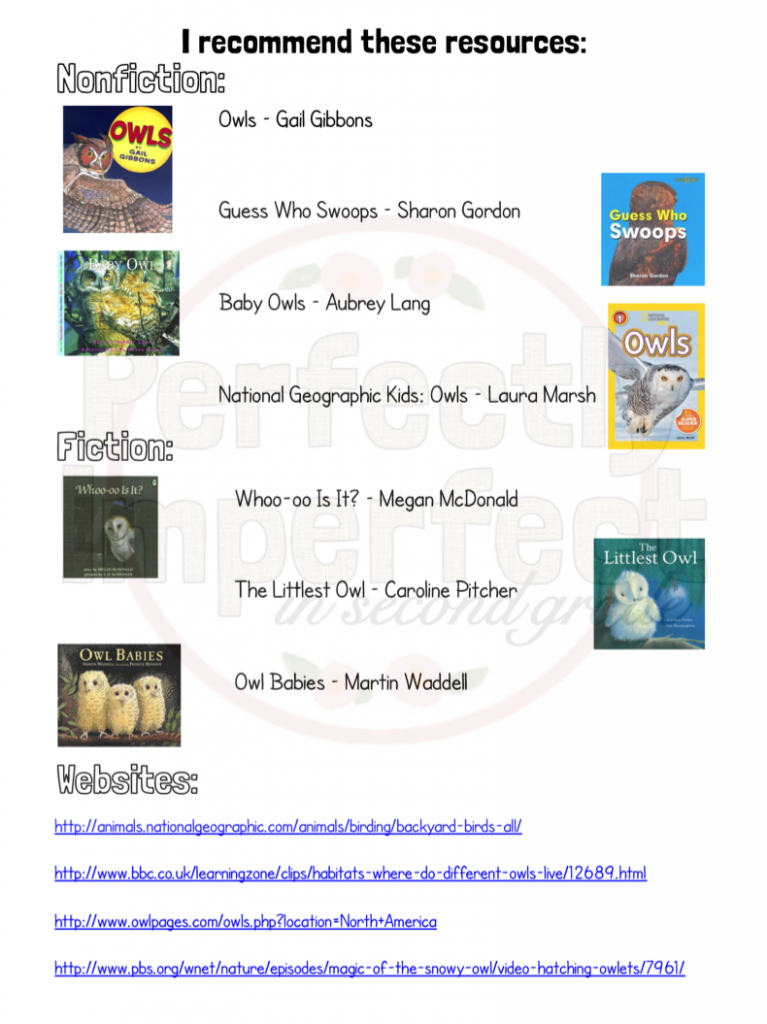
the owls and videos of the owls hunting and flying. And the books from the library help us learn how to use a table of contents and index to find specific information. These are the resources I have used for this unit:
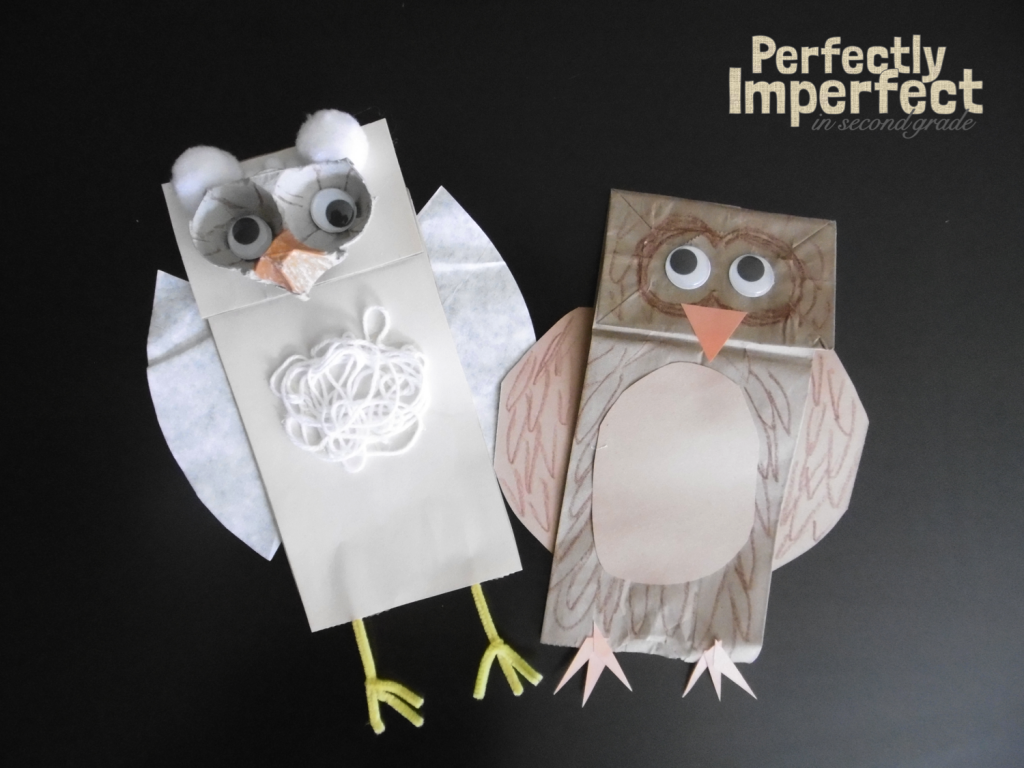
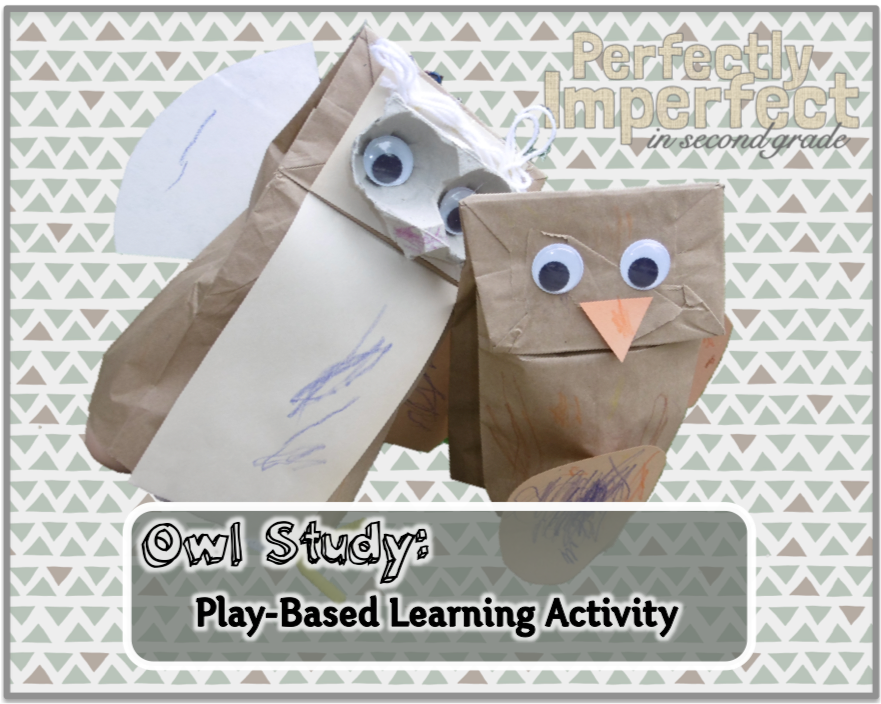

New to the owl unit is a play-based learning activity on owlets. I’ll give you a hint for what we are going to do:
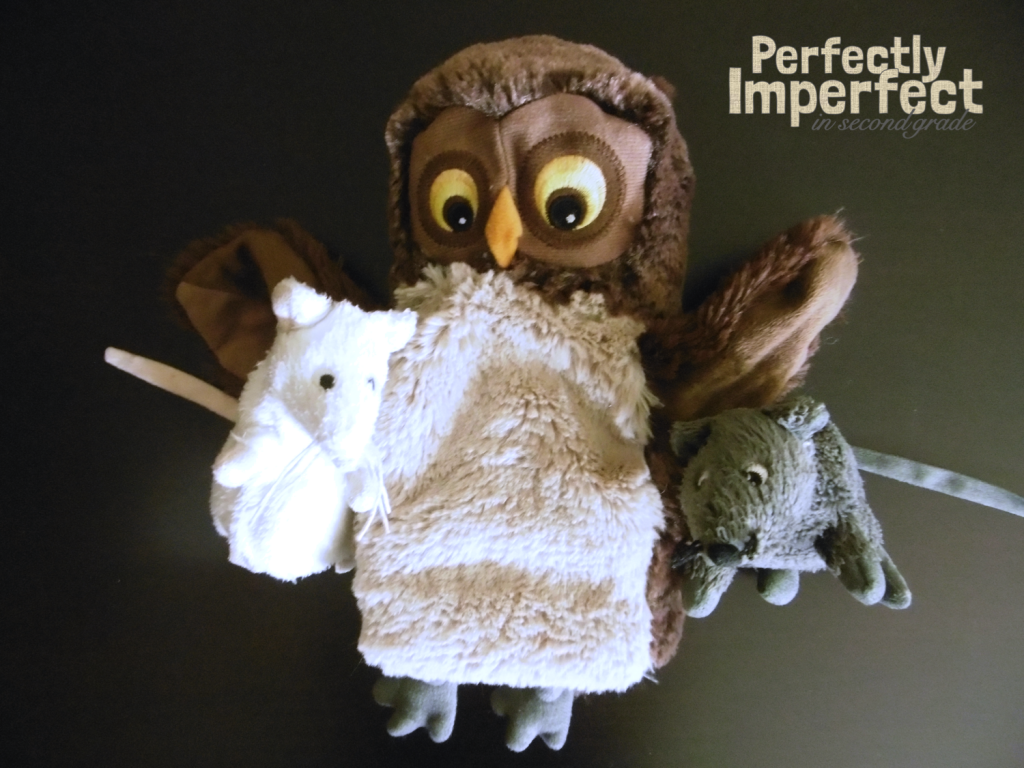

Also, I found these at Ikea last year, (the owl is a hand puppet):
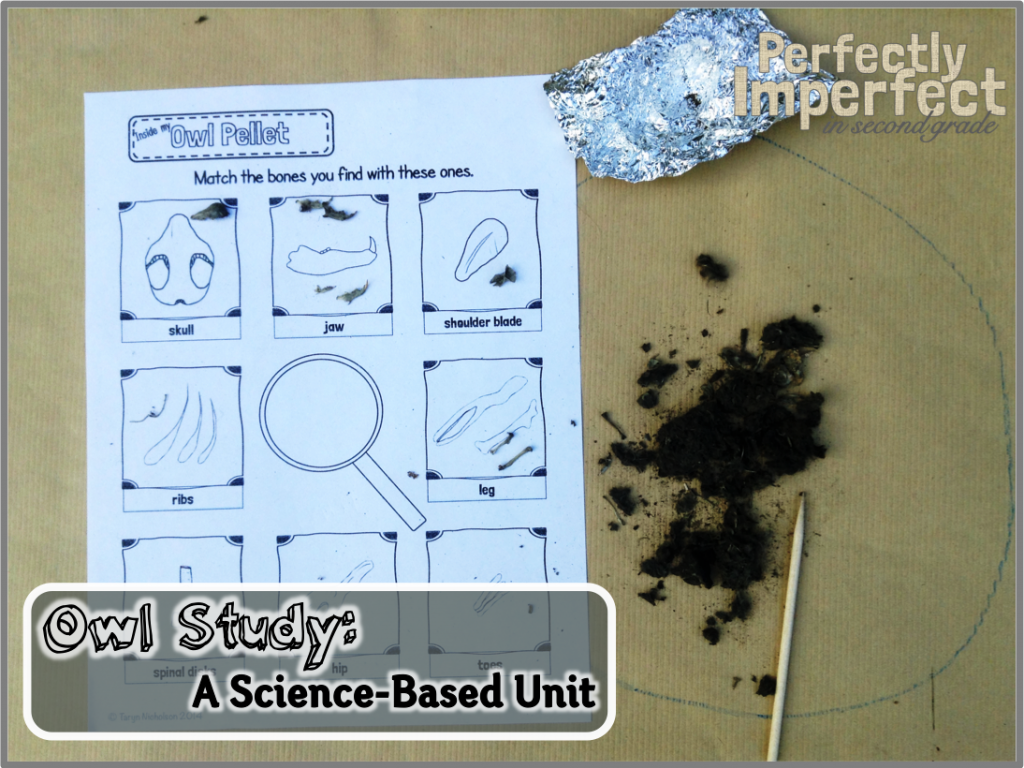

Of course, no owl unit is complete without some pellet dissection! I ordered box of barn owl pellets from Owl Brand Discovery Kits (link: http://www.obdk.com). It came from the states to Canada in really good time – although that is expected these days. I was really happy with the product – if you can say that about something an owl has coughed up like a hairball…Add the website to your list of resources, it’s been updated with great owl videos. This is a messy activity. If you have butcher paper or newspaper, lay it down EVERYWHERE. I like to use butcher paper so I can draw a big circle as a work area for each student/group and write their name on it. More often than not filling out observations and dissecting takes longer than one class period.


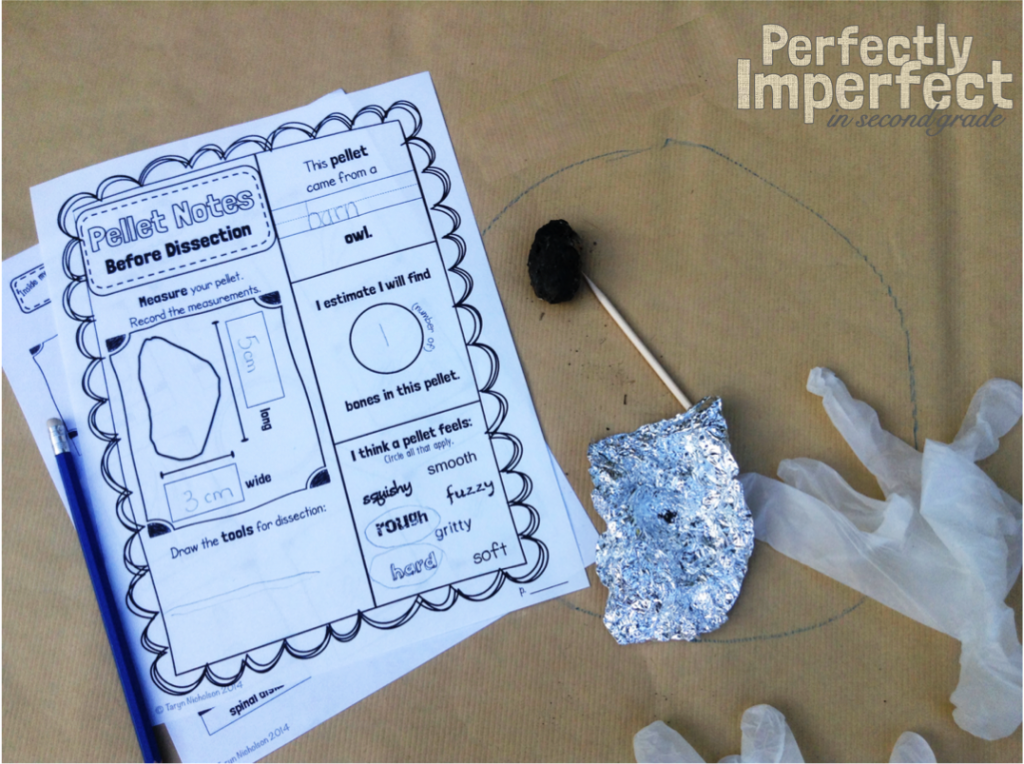
The kiddos do a Before Dissection Observation Report, match the bones they find to a bone chart while dissecting, and an After Dissection Report on their findings.


For a preview of my full owl unit, check out the link below.


Friday, October 03, 2014

How To in Blogger: Posts in your Pages


This tutorial is as much for me as it is for you. To me, using Blogger is similar to driving to a place a friend told me about with very limited directions. I miraculously arrive at that location (after many wrong turns), sing a celebratory song in my car, and then realize I have no idea how to get home... Thanks, Blogger. After combining 2 complicated tutorials I came across, I had finally created a tab that links to selected posts. I was all set to share that complicated route with you, when I discovered Blogger has a shortcut. Thanks, Blogger!


Here are the simple SHORTCUT directions for making PAGES redirect to select POSTS. Meaning – as you post, attach a label that will connect it to the other posts you want in this tab. For example, all of my tutorial posts are labeled “tech”. My new tab is “Tips for TPT”. After I complete the following steps, when I click on my tab “Tips for TPT” it will show my blog with all of the posts labeled “tech”.

1. View blog. Go to the navigation bar on the right hand side. There should be a screwdriver and wrench symbol. Click on it.


2. Click on the + Add External Link


3. Make your page/tab title. Enter this code for the URL:

http://YOUR BLOG ADDRESS/search/label/YOUR LABEL


4. Save Link. You can rearrange the order of your tabs at this stage if you’d like. Save again, and you’re done.

Click on my Tips for TPT tab to see how I linked to "tech" labeled posts. Happy Blogging!

Tuesday, September 23, 2014

The Fall Project


Autumn..."the leaves go from green to orange, the lattes go from vanilla to pumpkin, and girls toss their razors out the window for there'll be no bare leg seen until April." To kick off fall, we decided to take the family to an opening weekend at a local pumpkin farm. Unfortunately it rained all morning, but we still had a great time watching Rex eat pumpkins and riding on the cow train.


Of course, I rake my love of all things autumn right into and all over the classroom. I like to do a cross-curricular unit on the changes fall brings. It’s mainly science based but includes some great math and reading activities, too. The best part (and the kiddos would agree!) is we go outside for school!


In Art, we do a full page of leaf rubbings to make a cover page for our Fall Changes unit. Then we learn about our 5 senses and go outside to fully experience fall (I like to bring some sort of apple treat for taste). I’ve brought in squash and other gourds for pulling apart at the science table – they love to make a good, gooey mess. Side note: the first time I did this, I expected it to last for a full rotation of centres (which was 2 weeks). When I came in Monday morning for week 2 all of the gourds were moldy and smelly – not a good, gooey mess.


Also, we have an observation and reporting lesson on trees. The students like to find the perfect tree and are all over recording as many details as possible: the approximate height and width of their tree, drawing and labeling diagrams, etc. It really makes them feel like an expert scientist. For more about my Fall Changes unit, follow the link below.

Happy first day of fall!

Tuesday, August 26, 2014

Spotlight on...Back to School Books


The Night Before First Grade/Kindergarten by Natasha Wing are great books to kick off the school year and may calm any nerves your child has about starting school. These books introduce  some of the fun activities that can happen in the specific grade for your child. The first grade book demonstrates how to make new friends while keeping your old ones.


The kindergarten book covers the differences between daycare and school with emphasis on being big kids now. These books are based on the idea of Clement C. Moore's Christmas poem. Overall, Natasha Wing's poems help to replace the fear of the unknown new grade with eager anticipation for an exciting new school year. She writes with clever rhyme and humour. Check out these books HERE for a smooth transition into a new grade level!

I'm linking up with Mrs. Jump's class Book Talk. Have a look for more great books about the start of school! Happy reading!

Monday, August 25, 2014

Powerpoint 2011 Users Unite!

My name is Taryn, and I use 2011 Powerpoint for Mac. I am aware of the frustration caused by searching for a How-To in Powerpoint when all of your TPT friends are using 2010! I am by no means an expert and have simply learned through trial and error. Today, I am going to walk through saving slides as pictures without losing the quality of the image.


Step 1: Congratulations! You have finished creating your TPT product as a Powerpoint presentation...now let's get technical. Go to File - Save as Pictures...


 Step 2: Decide where to save these slide pictures (you may want to create a new folder as it saves each slide as an individual file). I like to use PNG format because according to Powerpoint 2010 users it provides a crisper image than JPEG...I believe them.


Step 3: As highlighted, change the Height to 2249 (I always type in 3000 - it's an easier number to remember and type. Powerpoint changes it to 2249 as a max.) The width changes automatically to 1687 if it is a vertical page and to 2999 if it is a horizontal page. You can decide if you want to save current slide only or save every slide in the presentation. Click OK.


Step 4: Start a blank presentation with the same page setup. Insert slides as background images.


Voila! You will have achieved the same crisp and clear image as a Powerpoint 2010 user.

Sunday, August 24, 2014

Eager Readers

A few years ago, I started a reading incentive program to encourage thoughtful, independent reading during center time. I often found little ones could be easily distracted from the task of reading at the library center without something (other than me) to hold them accountable. I started with three themes (one for each school season) and moved toward one theme a month to keep things interesting and to vary the reading skill.

Basically, my kiddos choose a book from the class library as usual, fiction or nonfiction, and then complete a skill builder or comprehension worksheet to go with it. They hand it in or show it to me, I check it and reward them with a sticker/die cut for their poster. Here are some examples of what I’ve used:

Maple Tree Reading – leaf die cuts or stickers

Rocket Reading – star stickers or stamps

Marshmallow Reading – with cotton balls for marshmallows in a hot chocolate mug
(This one is pictured with a nonfiction reading incentive worksheet).

Gumball Reading – any circular stickers or with bingo dabbers

 Rainstorm Reading – I like to do this one in February and tie it in with the story,
 The Day it Rained Hearts by Felicia Bond. 
It could also be done with a raindrop stamp or sticker. 
(It's pictured with a nonfiction reading incentive worksheet).


It’s amazing how motivating sticker collections are for kiddos, especially when they are working towards creating a picture with those stickers. And it’s a lovely way to fill a bulletin board for an entire month. Plus, when I take it down I know exactly what will be going up next – for the entire year…love it when things are that easy and organized.